Assign Working Time Model to Resource
This section describes how to assign a working time model to a resource. The working time model is usually the work performed or the work to be performed (40-hour week or similar).
To assign a working time model to the resource, proceed as follows:
- Click Related > Resource > Working Time Models in the menu bar of the resource card.

Figure: Assign Working Time Model - The Res. Working Time Models page is displayed.

Figure: Select Working Time Model - Complete the information in the table columns:
Column Description Working Time Model Code Specify a working time model code in this column. For more information on how to create a working time model, see the Create working time model section. Starting Date Specify a start date. To use the current date, enter “t”. Ending Date Enter the ending date. Base Calender Code Enter the code of the base calendar. The base calendar contains holidays or other days off (half days off at Christmas or New Year's Eve) that must be taken into account in the schedule. Project No. Enter the project number in this column. Specific This column shows whether the calendar used is a calendar with specific changes. Comment Enter a comment for the working time model in this column. Unit of Measure Code This column displays the unit used in the working time model. Monday - Sunday In the columns for weekdays, the amount for the daily working time is displayed. - To generate the capacity for the resource for the current and following year, click Aut. allocation of capacity in the menu bar.
- The Resource capacity allocation window is displayed. You can define appropriate filters in the input fields.
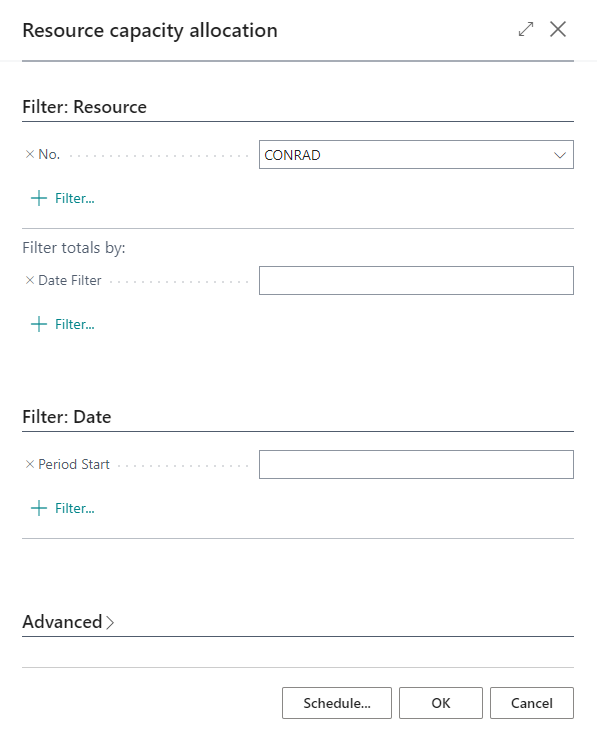
Figure: Resource capacity allocation - To confirm the entered data, click OK. This function is used for resource capacity allocation. The function generates the capacity for the current and the following year. This function must be performed every year.
You have created the capacity for the resource. In the schedule, you can plan tasks with this capacity.